CS 6620 Advanced Computer Graphics II - Assignment 7
Zach Gildersleeve
March 16, 2007
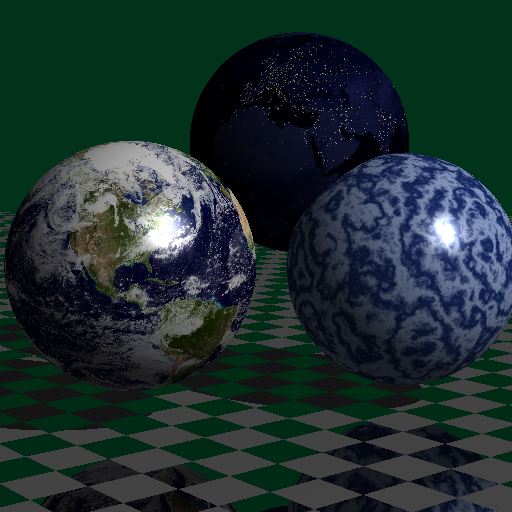
Required Image
Here is the required image, as produced by the program.
Code Listing
The code for this image can be found here.
Design Choices
The CheckerMaterial, Marble, and Image material classes basically follow the notes presented in class. Each material is a child material of the Material class. Most are built on preexisting Lambert or Phong materials. In the Primitive class, a getTextCoord() function was implemented that returns the linear worldspace texture coordinates, which are all that are required for procedural textures. To map the image onto the sphere, SpherePolar, a child class of Sphere, was implemented that computes and returns polar texture coordinates. The Image material is built on the Phong Material, and references several extensions of the Image class. Specifically, a new Image constructor was implemented that loads in a .ppm image file into a 2D array of struct Pixel, the same format used to store color information as it is rendered. An interpolate() function in the Image class returns the interpolated Color in the image based on two passed texture coordinate parameters.
Creative Image
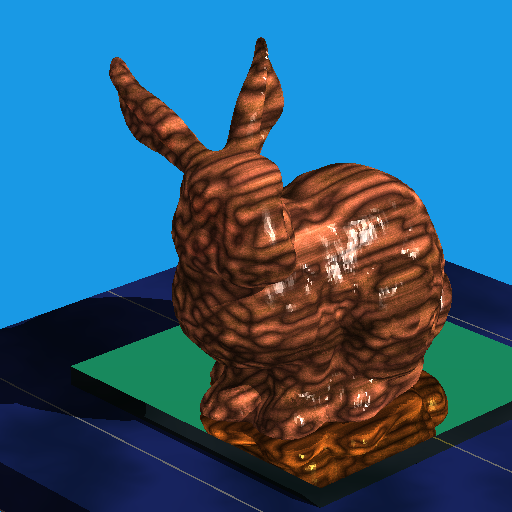
For my creative image I attempted to add a little more realism to the previous assignment's required image of the Stanford bunny. I implemented a wood textured material built on a Phong Material that essentially does twice the calls to the Perlin noise function. One call processes the light parts of the wood and one process the darker parts of the wood. The two resulting wood colors are multiplied together. This created decent results, but requires lots of interacting with the parameters. Since the bunny renders in about 40 seconds, even with the implemented gridded group, it is difficult to adjust the parameters towards any actual goal. Interacting with just the raw numbers of a Perlin noise is not intuitive. An additional roadblock is the scaled down size of the bunny scene, which made it difficult to apply the tile material.
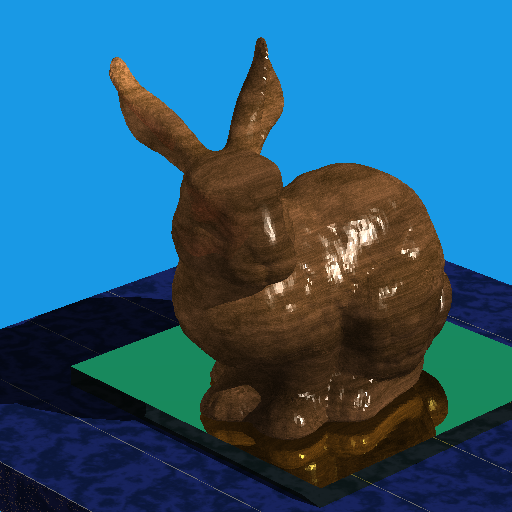
Extra Credit
For the extra credit I implemented the tile material and the wood material. See the creative image description for more information. Below is the required image from this assignment with the tile texture, which isn't fully obvious in the creative image.
Additional Comments
The required image took me about 10 hours, and was fairly straightforward given the methods presented in class. The creative image took about 5 hours to do.