CS 6620 Advanced Computer Graphics II - Assignment 1
Zach Gildersleeve
January 24, 2007
Required Image
Here is the required image, as produced by my program.

Code Listing
The code for this image can be found here.
Design Choices
The above code has separate Point and Vector classes, as a means of forcing the distinction between the two. The actual values of Point, Vector, Color, Ray, etc. are maintained as public accessed floats. This public access avoids get/return functions, which would have the potential to clutter the class, without really "hiding" the underlying known data structure. Non-member functions, like dot(Vector, Vector) and certain operator overloading, have been kept as inline functions where possible, as an acceleration means. The Image class maintains a 2D array of struct Pixel, consisting of char r, g, b. The raytracer returns a color and pixel coordinates, which are clamped to 0-255 in the Image class. A separate Image::write() method allows to write the current contents of the image as a *.ppm file.
The file main.cpp holds the nested for loops that make up the raytracing functionality for this image, as well as code to display the rendered image in an OpenGL window, which will be discussed below.
Extra Credit
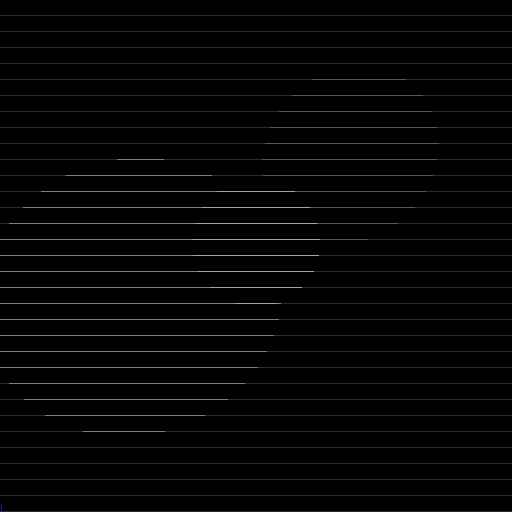
An image viewer was implemented in OpenGL in main.cpp, which provides several means of rendering the raytraced image. Upon launch, the user is presented with a menu. Currently, there are two choices, but other rendering options will be added if they are needed by future images. Option 1 raytraces and sets the image, writes the image to a file, and then displays what was rendered in a window, as well as some render stats from the Timer class. Option 2 raytraces, sets, and displays the image progressively. Each horizontal row is rendered in its entirety, but the order of rows is rendered first as every 128 row, then as every 64 rows, then every 32, and so on, until every row is rendered. This allows for a quick preview, as the image as a whole can be seen by only rendering every 16 rows, and the image gets progressively better from that point. This rendering option does not automatically save the image, but that can be done at any point by pressing the 's' key, which might be useful to save partially rendered images in the future. If the image is allowed to render to completion, the saved image is identical to an image produced by rendering using Option 1. For some reason, the OpenGL window doesn't correctly display the first and last couple of horizontal lines, but as these artifacts are not present in the saved image, it is not a severe problem. The following image is the progressive render, at every 16 lines, and the second image is every other line.

Additional Comments
It took approximately 12 hours for the main assignment, and about 5 for the extra credit. Most of the time and difficulty in the assignment came from the Point and Vector classes, which took longer to do than I thought, and some trial to get all the functions working together across classes. As these are the foundations to the raytracer, once these were built, it was straightforward to create the other classes.