Wall-E and Machinima Animation
Concept
For a civil engineering presentation featuring a robot that would crawl into very large pipes and clean and remove rust and deposits, the client wanted an unauthorized tie in with the Pixar movie Wall-E. After all, the pipe cleaning robot does look somewhat like Wall-E and Johnny 5 before it. Furthermore, the client wanted an [animated] human to interact with the Wall-E robot, so it was decided to design and model the human in Half Life 2, saving the time and expense of modeling and rigging a similar character. Wall-E would be modeled and animated in Maya, as well as the pipe and surrounding environment, and would be composited together with the machinima animated human in After Effects. The following pages detail this process, starting with the modeling and rigging of Wall-E. Note to Pixar: I understand copyright, and this project (because there was a modest fee involved) would probably hold up as infringement. Don't like it? Hire me.
Modeling
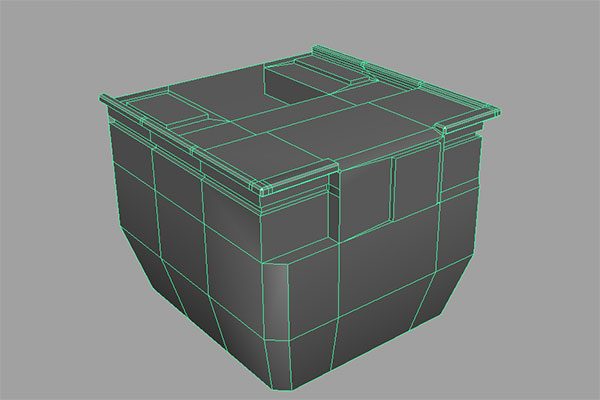
All modeling of Wall-E was completed in Maya. First, we start with a poly cube for the body. A series of inserting poly rings and extrudes produces the basic shape of Wall-E's body.
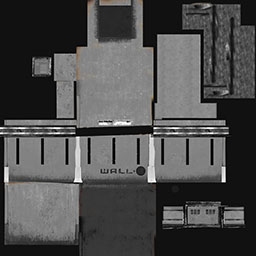
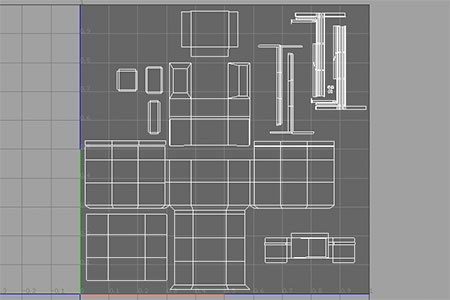 Some of the detail was left off, as any future animation would be simple, and probably only from the front. The body polycube took the longest to layout the UVs, as most of the detail unique to Wall-E is located on the body and eyes. Here are the UVs laid out using automatic mapping, and then manipulated to give a painting area.
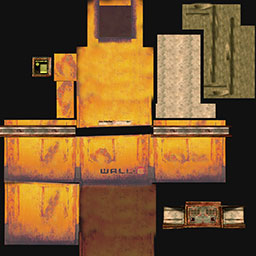
Textures were pulled from high resolution images available on the web. Search for Pixar Wall-E in Google Images and look for Very high resolution images. There are a couple out there that worked great, particularly for the Wall-E nameplate on the robot's front.
Here are Wall-E's body textures, including the color map, bump map, and a map that we'll hook up to luminance to give a little light to his front display.
And here is a render of Wall-E's body. Not bad so far.
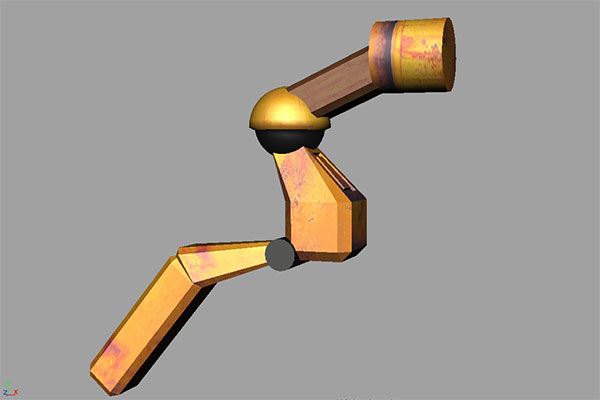
Now for Wall-E's arm. This is made of poly cylinders at each joint, and to duplicate the pneumatics of each arm. The upper arm segment is made out of a flattened cylinder.
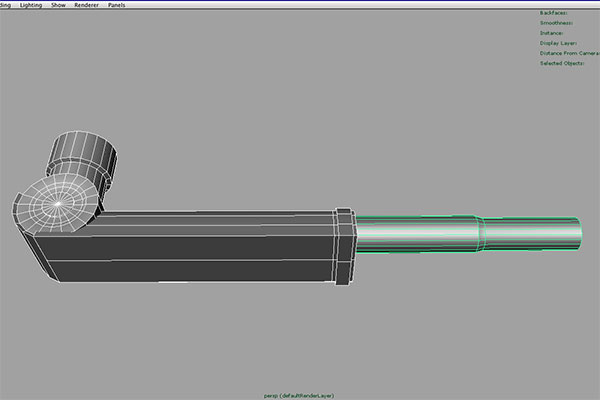
And the textured arm. The joints are textured using a procedural metal texture.
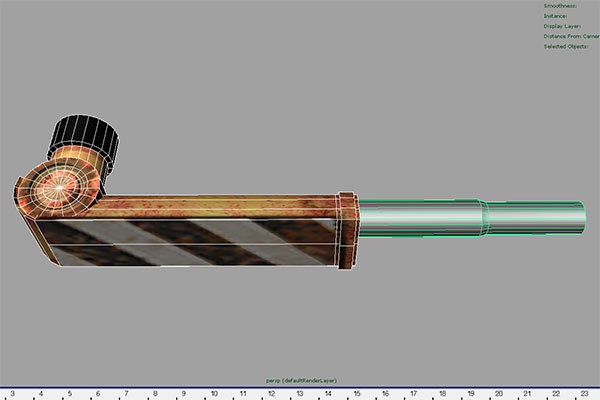
The hand is a little more complicated, and takes a little planning to keep the parts simple. Once one finger was created, it was duplicated twice. Again, the cylinder joints are textured with a procedural texture, and the broad segments of each finger are textured with images.
Mirror the arm and hand, and here is the progress so far.
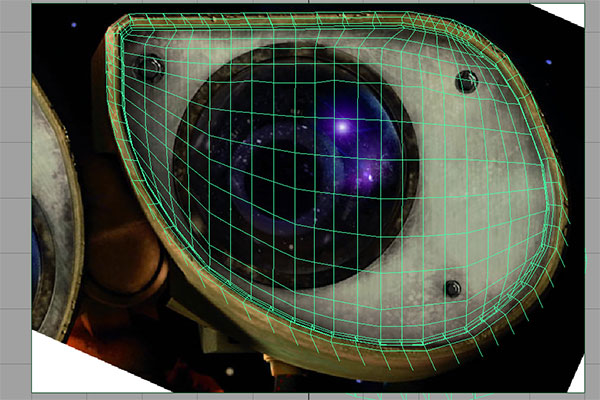
For Wall-E's eyes, I set up an image plane and traced a polycube into the appropriate shape. The eye has a higher poly count than most of the body, to keep a smooth shape and to provide more flexibility in placing specific texture elements. Wall-e's eyes are the only "organic" elements to his body, everything else can be derived from simple polycubed and cylinders. Once the outline of the eyes was in place, I extruded the eye face backwards, and extended a simple structure on the back that holds Wall-E's eye camera mechanisms.

 For Wall-E's neck structure I followed the same basic concepts as his arm, but using more ball joints than pneumatic drives.
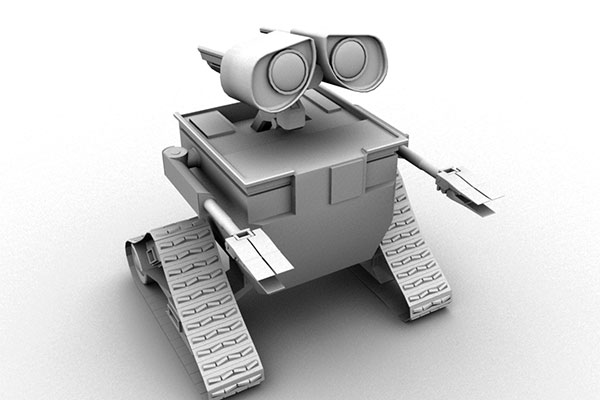
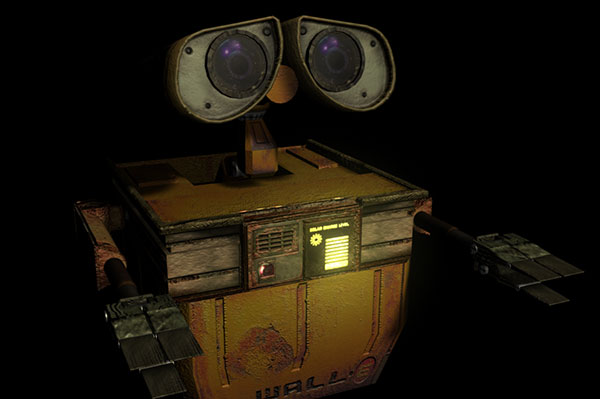
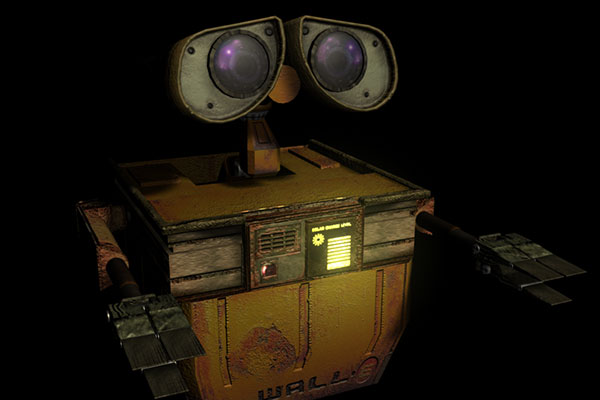
And below is the current render with Wall-E's body, arms, eyes, and neck. The eye lenses themselves, which are a very simply polycylinder, do not have a sense of life to them, which is important in creating the character of Wall-E. I did not want to model the internal workings of the eye-content on letting the textures do the work for what I would use the final rendered and animated model for- but the eyes still needed some work. The simple solution was to place an oval shaped lens over the eye cylinder, and map it with a transparent version of the eye texture itself. A little raytracing (seen in the final render below) and the eye looks passable, and reflects a little of the surrounding lights and environment. Note the difference in the two renders immediately below.
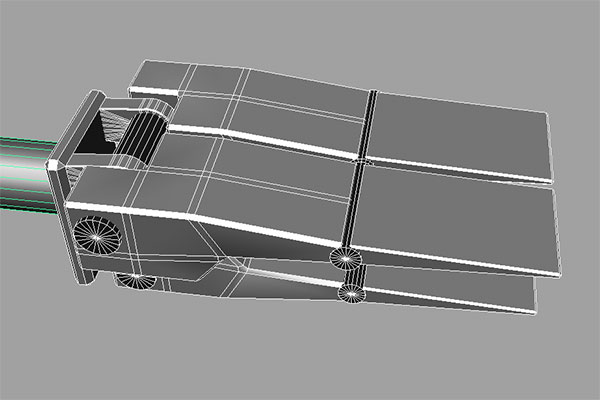
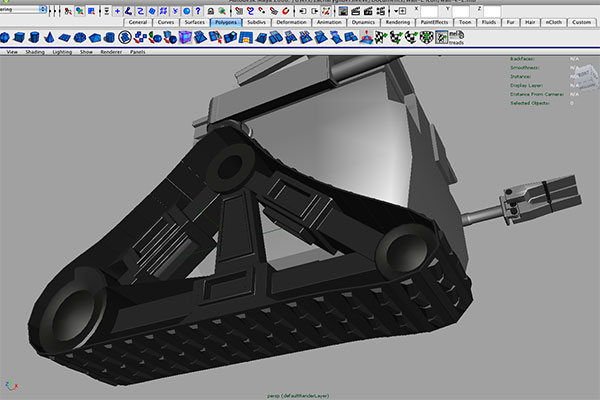
For Wall-E's tank treads, first I constructed the inner workings of the treads.
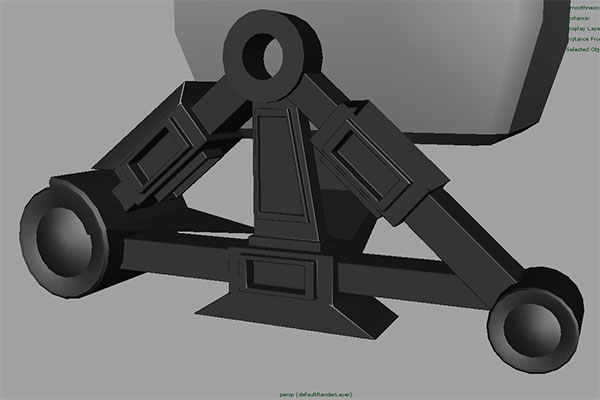
Then, using a modified version of the AS_TreadsCreation script I created a rigged set of tank treads, seen below.
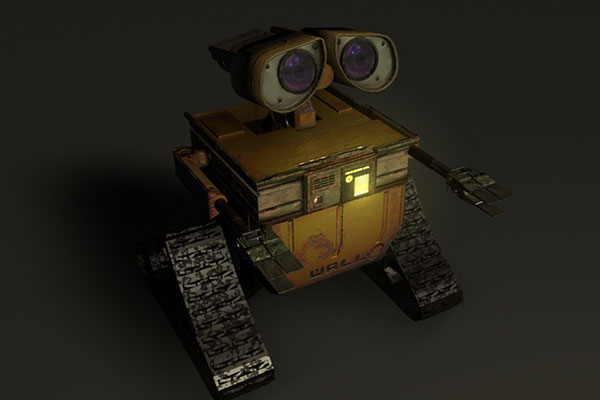
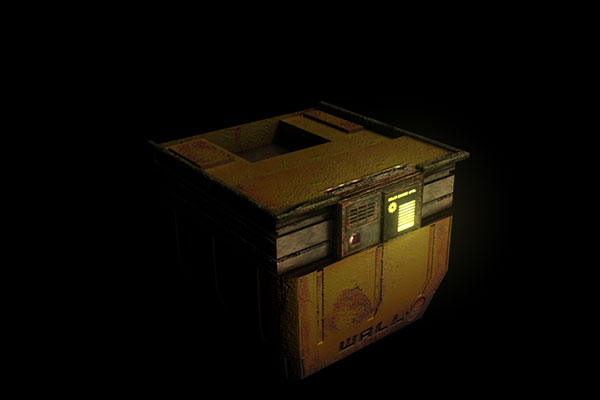
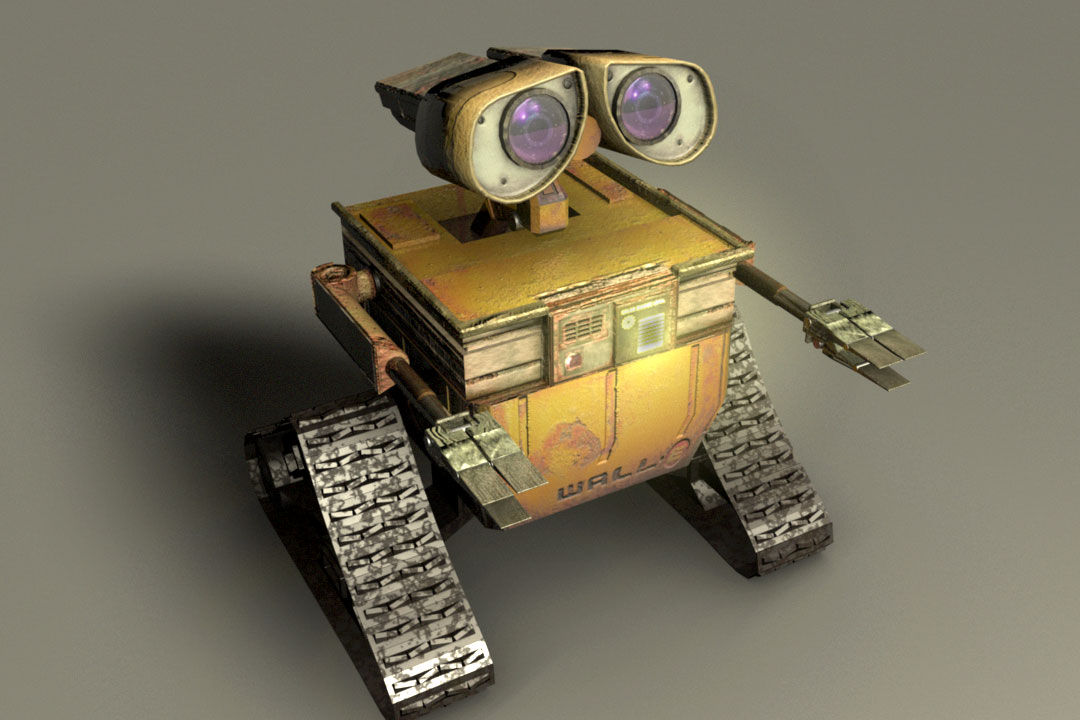
Some additional texturing, and the Wall-E model was completed. Here is the final render.
Next: Rigging the Wall-E Maya 3D model
Note On Rendering
A note on the rendering technique. The final render is a simple two pass render, a color pass with some raytracing elements, multiplied against the default occlusion render. It gives fairly decent results rather quickly.